Outlook: Add Social Media Icon to Signature
ℹ️ Info Target audience: Layouters
Applies to: primedocs desktop, OneOffixx
warning
This page is about Outlook classic. These cannot be used in the web-capable Outlook version.
Introduction
As an example, this guide adds the Instagram icon to the email signature template "Signature External CH".
A script of the type "Link" must be created, which is then inserted into the email signature template. What this guide covers:
- Prepare Script – Before the script can be created, the Instagram icon must first be converted and a translation must be added.
- Create New Script – To create the new script, we orient ourselves on the existing scripts and simply replace the content with the correct values.
- Insert Script into Templates – In the email signature template, the script must finally be inserted and the signature tested.
Prepare Script
Convert Instagram Icon File
Goal: The Instagram icon image (a .jpg or .png file) that should be displayed must be converted to a Base64 string (a character sequence) so that the image can be used in the script for the template.
- Open the following website: https://www.base64-image.de/
- Drag the image from File Explorer to the drag & drop area
- In the "Encoding" area, click the "copy image" button.

- Paste the text into any text editor (e.g. Windows Notepad or Notepad++) for temporary storage (Ctrl + V)
- Delete everything up to and including the first comma in this string: ~data:image/png;base64,~iVBORw0KGg[…]
Add Link in Translations
- Open Global Translations
- Navigate to the "Links" dataset
- Click the "New Entry" button and replace the word "New" with "InstagramLink"
- In the new entry, fill in all Instagram links for each branch. If the same link applies to all languages/branches or the link is only used in German signatures, enter the link at the top under "German".
- Save
Create New Script
- Open Global Configurations
- Navigate to the "Scripts" → "MailGeneral" section
- Select the script (
<CustomDataNode>to</CustomDataNode>) with the id "Icon.Youtube", copy it (Ctrl + C) - Paste the copied script on a new line (Ctrl + V).
- Change the script id to "Icon.Instagram".
- Fill in the "Link" element with the correct data (more information about Link scripts can be found in our technical documentation):
- In the
imageAltTextattribute, replace "Youtube Icon" with "Instagram Icon" - In the
imageDataBase64attribute, replace the long character string with the string you temporarily saved in the editor. - Between
<Link […]>and</Link>, replace the ID of the link to Global Translations{D[Links.YoutubeLink]}with{D[Links.InstagramLink]}.
- In the
Insert Script into Templates
- For the CH template "Signature External CH": Make sure the document language is "German - CH". Same for the German signature template with German - DE.
- Open Outlook
- In OneOffixx, open the template "Signature External CH" (or the German one) with "Edit Template"
- In the template editor, click "Editor" and wait until Outlook has opened the mail template.
- In the opened email template, click "Link Content" in the "OneOffixx Design" ribbon
- In the opened Designer pane, navigate to the "Scripting" section and then open the "Icon" folder
- In the text area on the left (HTML editor), place the cursor where the icon should go. Since these are link scripts, note the following: The cursor must not be placed inside another script. The scripts are placed directly next to each other so they appear in one line. Example: You want to place the Instagram icon between the Facebook icon and the YouTube icon. Then the cursor must be placed exactly between these two link elements, as shown in the screenshot.
Like this: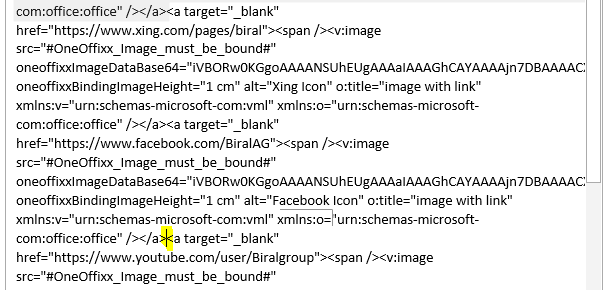 Neither the preceding nor the following field may be selected. So not like this:
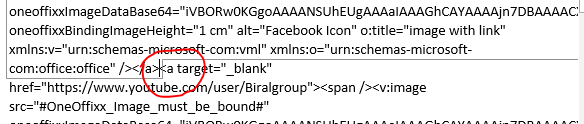
- Once the cursor is placed, double-click "Instagram" in the Icon folder in the Designer pane → The script field is inserted.
- Save.
- Exit OneOffixx administrator mode.
- Test the signature with a suitable profile.
If problems occur, contact support by opening a ticket.