Configuring the Recipient Dialog
Configuration
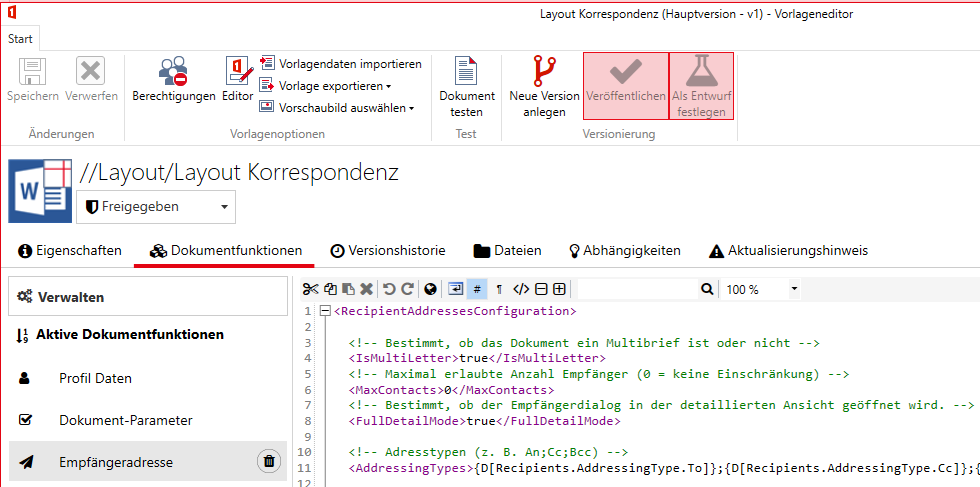
The "Recipient Address" document function must be attached to a template if the recipient dialog should be displayed. In the configuration window, the recipient dialog can be customized for the solution in various ways.
IsMultiLetter
Depending on whether you want to display multiple addresses in the document, you can adjust the configuration.
Specifically for multi-letter documents:
For multi-letter documents, a separate document is generated for each recipient. You can switch between the entered recipients. This option is used for letters.
Typical non-multi-letter document: A template where all recipients of a type (To, Cc, or Bcc) are listed in list form. This option is typically used for invitations, minutes, etc. and the recipients are displayed depending on their type (To, Cc, or Bcc), e.g. in the text sections "Attendees", "Excused", and "Distribution".
The option whether the template is a multi-letter document or not is configured under the IsMultiLetter option in the Layout or Content template.
  <!-- Determines whether the document is a multi-letter or not -->
  <IsMultiLetter>true</IsMultiLetter>
MaxContacts
Here, the maximum number of contacts that can be added to the document is entered. The default can be left at 0.
FullDetailMode
In a letter, you want to see all important information such as the salutation or business address. Therefore, FullDetailMode is set to true by default. With the setting false, the simple view is activated. This hides much of the information in the recipient dialog. This view is mainly used for the list form.
AddressingTypes
In the configuration for the recipient dialog, display names for up to three address types can be configured under AddressTypes. By default, the following are set: To;Cc;Bcc.
Under AddressingTypes, a maximum of three address types can be configured for non-multi-letter documents. The default is To;Cc;Bcc, but in the base configuration, a link to global translations is often stored. You can either override these links in the Global Translation Provider or delete the links and output your own text.
<!-- Address types (e.g. To;Cc;Bcc) -->
<AddressingTypes>{D[Recipients.AddressingType.To]};{D[Recipients.AddressingType.Cc]};{D[Recipients.AddressingType.Bcc]}</AddressingTypes>
Depending on the use case, it makes sense to customize the address types, e.g. for minutes: Attendees;Excused;Distribution.
Creating a Multi-Letter Document
For a multi-letter document, only the first address type To is displayed under Search Results in the recipient dialog.
Also, entering address types that differ from the default has no effect. I.e.: if MultiLetter is set to true and AddressingTypes contains something other than To;Cc;Bcc, the AddressingTypes configuration has no effect.

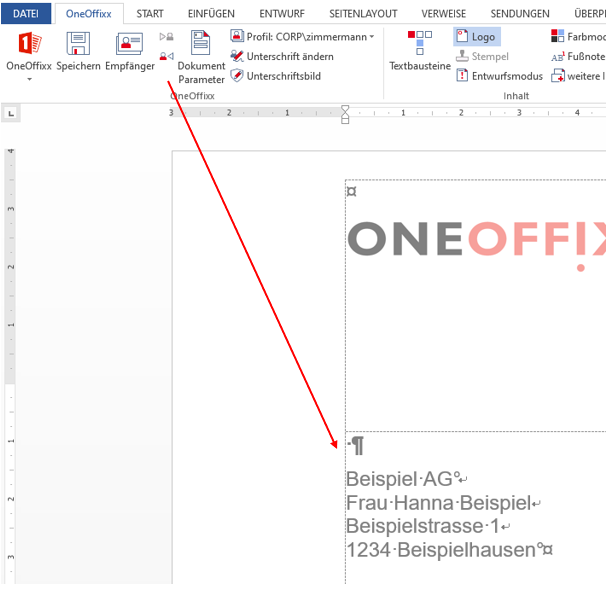
Now in the document, a separate document is available for each entered recipient. You can switch between documents using the toggles in the Ribbon.
Creating a Non-Multi-Letter Document
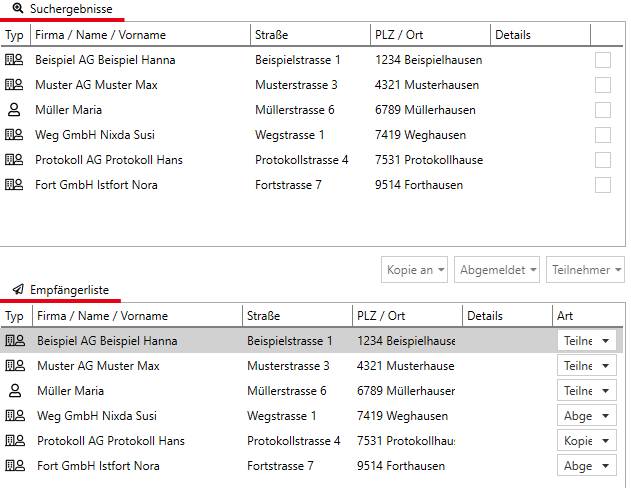
Under Search Results, all three address types are now visible for non-multi-letter documents. In this example, the address types Attendees, Excused, and CopyTo were configured, which differ from the default (To, Cc, Bcc).
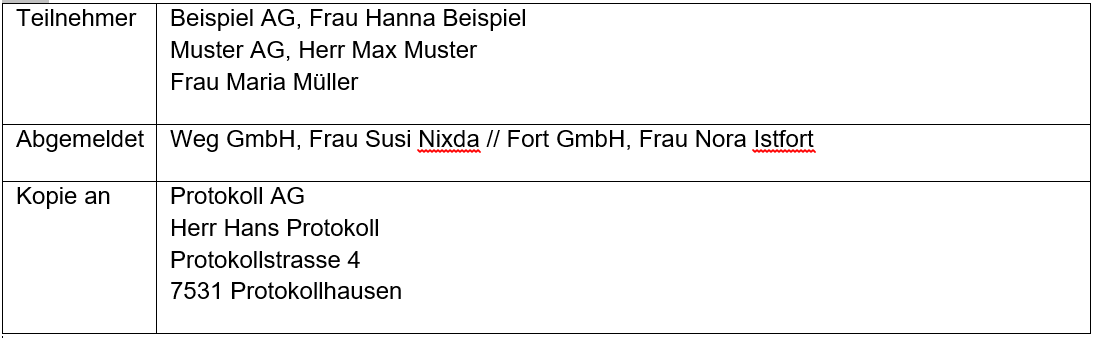
In the document, you cannot switch between recipients using the toggles. Instead, the recipients are displayed in list form depending on the script configuration:
How you want to integrate these addresses in the document can be determined by scripts.
The display above is achieved with the following approach:
Scripts
Depending on how you want this inserted in your document, you can create scripts.
The separator in the first line defines how the individual addresses within each address type are separated.
The Elements specify what should be inserted from each address.
<CustomDataNode id="Attendees">
<List type="Recipient" separator=" " filter="To">
<Element id="Company.Name" separator=", " />
<Element id="Person.Title" separator=" " />
<Element id="Person.FirstName" separator=" " />
<Element id="Person.LastName" />
</List>
</CustomDataNode>
<CustomDataNode id="Excused">
<List type="Recipient" separator=" // " filter="Cc">
<Element id="Company.Name" separator=", " />
<Element id="Person.Title" separator=" " />
<Element id="Person.FirstName" separator=" " />
<Element id="Person.LastName"/>
</List>
</CustomDataNode>
<CustomDataNode id="CopyTo">
<List type="Recipient" filter="Bcc">
<Element id="Company.Name" separator=" " />
<Element id="Person.Title" separator=" " />
<Element id="Person.FirstName" separator=" " />
<Element id="Person.LastName" separator=" " />
<Element id="Address.Street" separator=" " />
<Element id="Address.CityZip" separator=" " />
<Element id="Address.City" />
</List>
</CustomDataNode>
Word Editor
Once the scripts are created, you can insert the fields into the document.
- Open the document in "Editor" mode:

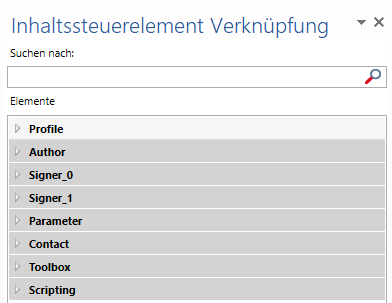
- Select the OneOffixx Design Ribbon and click "Link Content"

- Now all links are visible, grouped by categories:
- The scripts created as per the example above can be found by their ID:
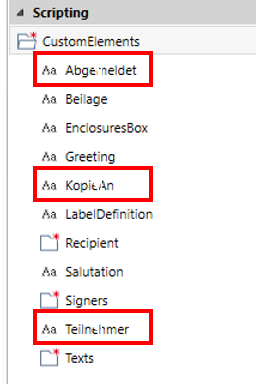
- Place the cursor at the desired location and double-click the desired field to insert the corresponding script.

- Then save and close the template.